
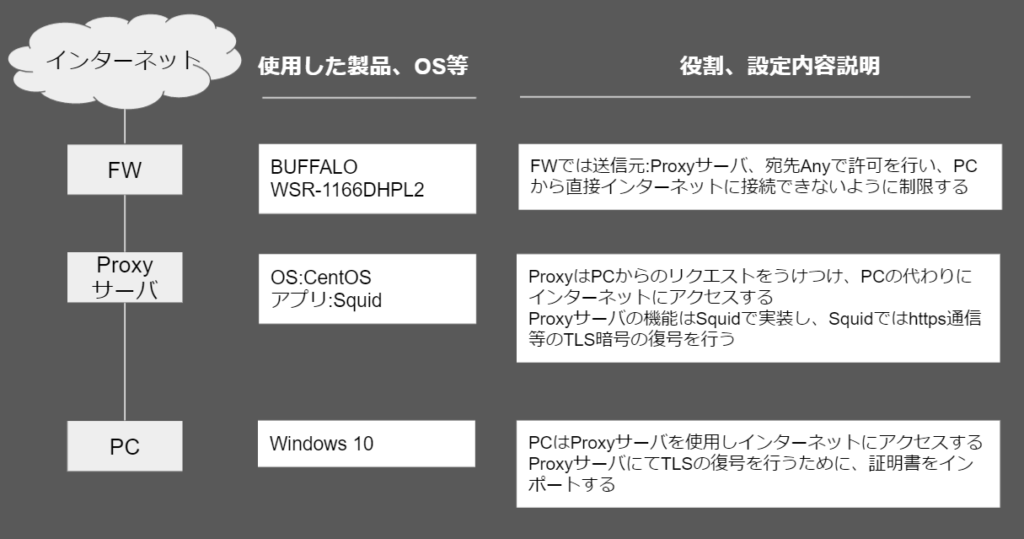
以下のようにProxyサーバを構築しインターネットアクセスを許可している環境が多いと思いますが、PC-インターネット間通信はほとんどがhttps等のSSL暗号通信(SSL3.0は脆弱性があるため、TLSを使用しているが、便宜上SSL暗号と記載する。)であり、通信の中身がProxyサーバではよめない。このためセキュリティ対策のためにProxyサーバでも通信の中身を読めるようにSSL復号化を検証してみた。
環境構築の概要
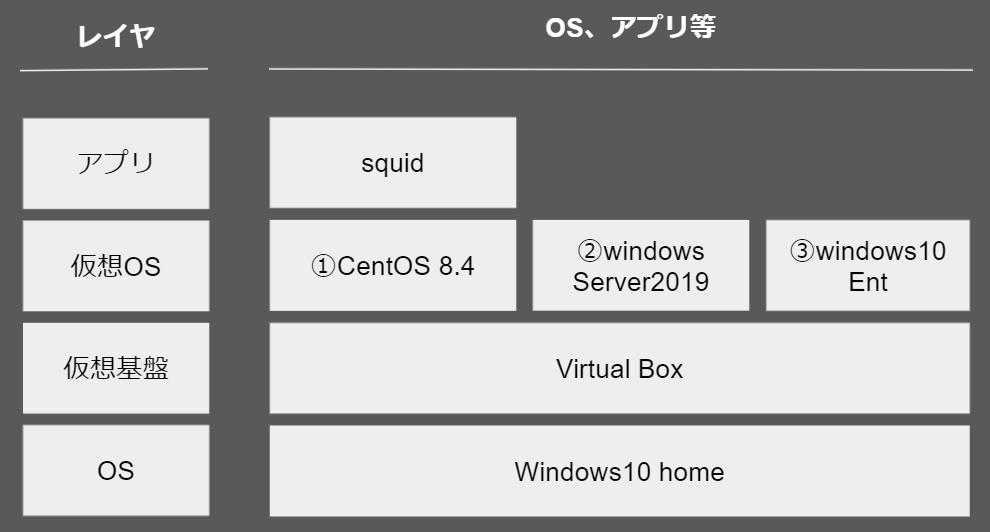
今回の環境は以下を使用し構築する。②のWindowsServerはAD、CAを構築するために用意する。検証用ADを作成するため、PCについても普段使用している環境とは別に③を用意する。
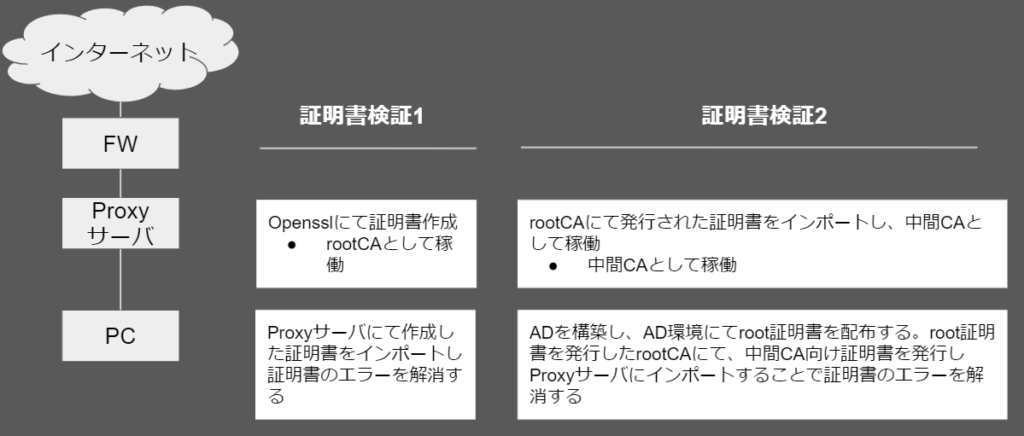
SSL復号を行うにあたり、証明書の発行は以下2通りの方法で検証を行う。検証2は実際の環境でAD参加PCへの証明書配布が難しい場合に、配布済みのroot証明書を使用して復号化を行うことを想定し検証する。
今回は証明書検証1を実施する。
CentOS 8.4を準備する
ISOファイルをダウンロードする
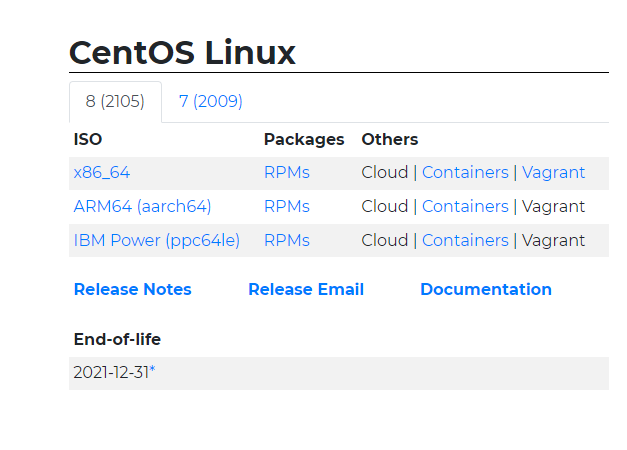
VirtualBox上にCentOSを準備するため、OVAテンプレートなどを探してみたがなさそうなので、公式からISOファイルをダウンロードする。

以下からISOのx86_64をクリックし、表示されるミラーサイトからISOをダウンロードする。
VirtualBoxでCentOSを構築する
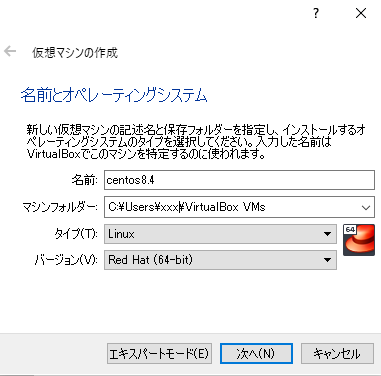
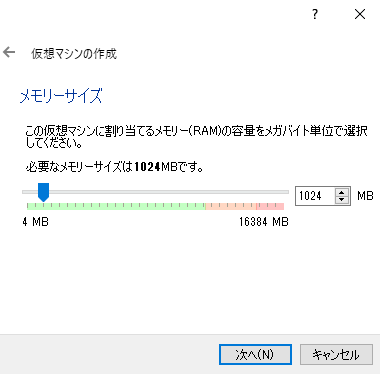
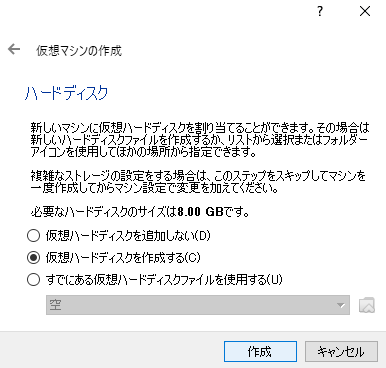
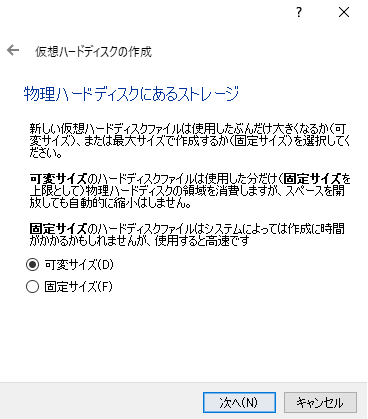
VirtualBoxを起動し、[新規]を選択し、セットアップウィザードに従い、CentOS用VMを作成する。

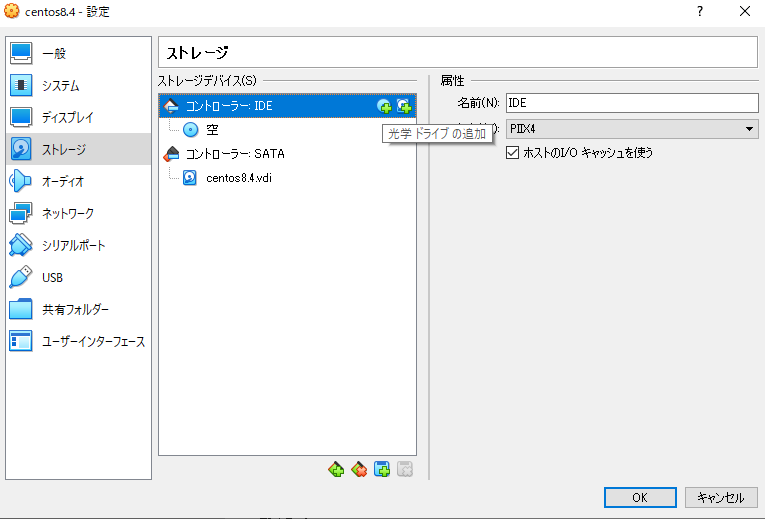
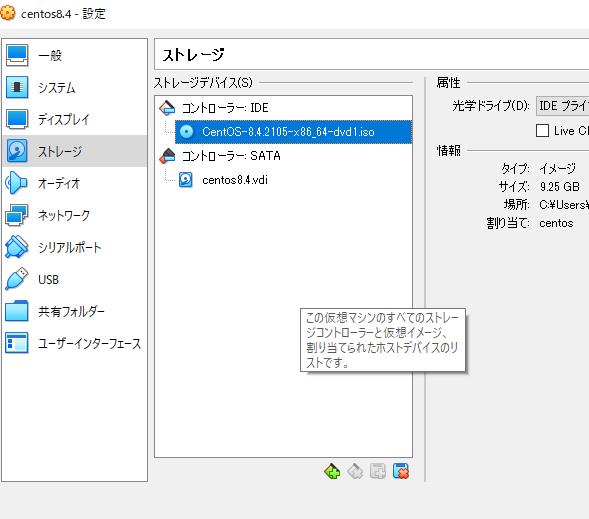
VM作成後、光学ドライブにダウンロードしたISOファイルをマウントし、インストールを準備する。
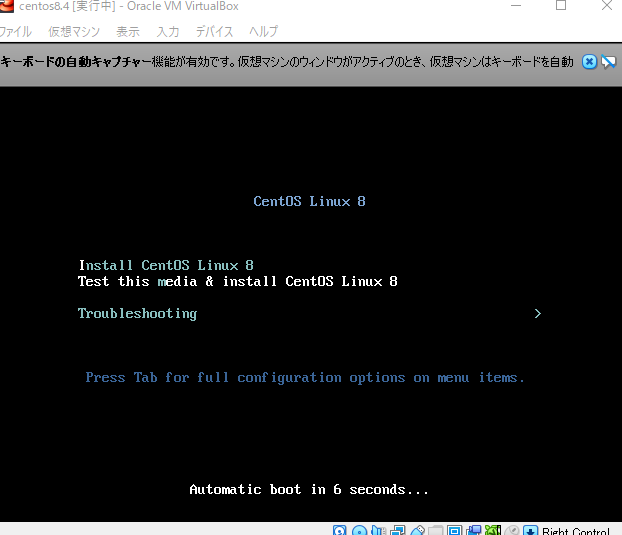
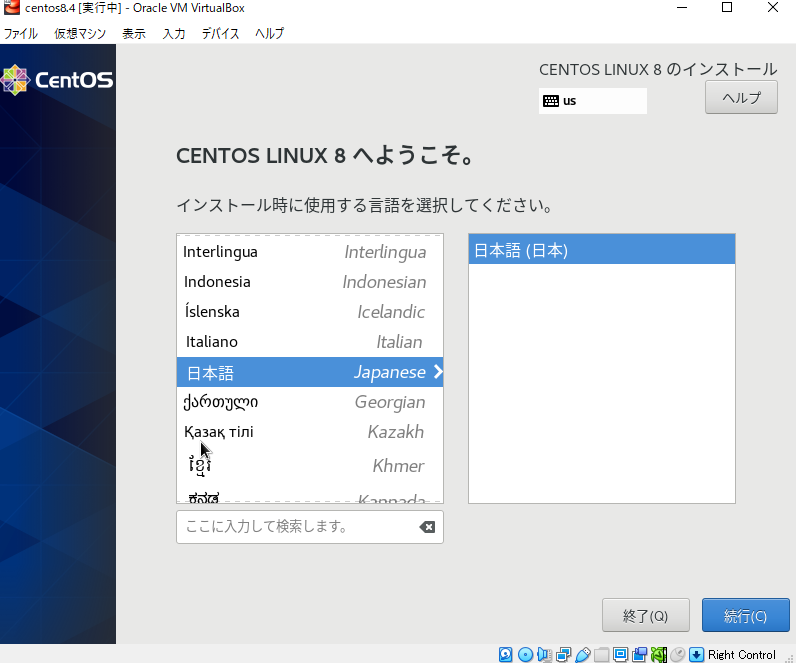
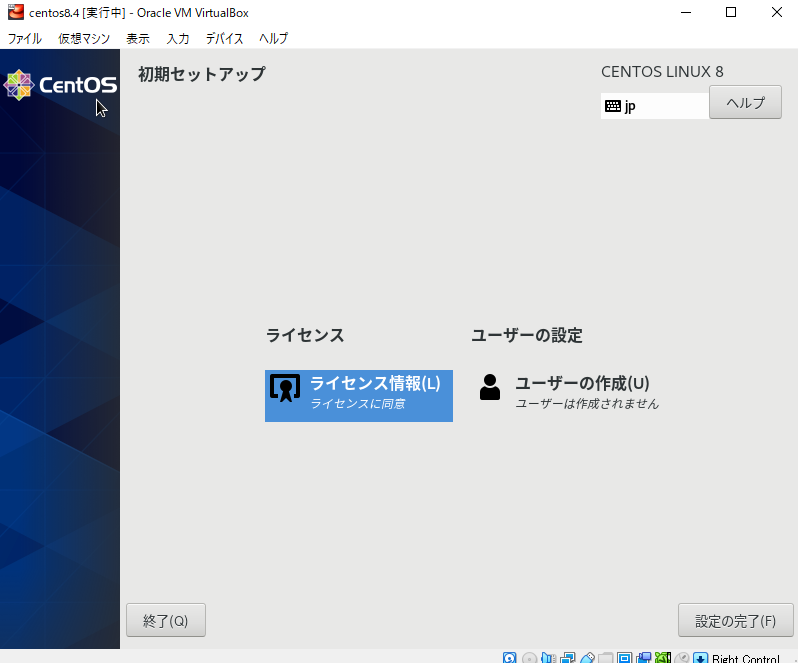
VirtualBoXでCentOSのVMを起動しセットアップを行う。
Squidをコンパイルする
SSLのデコードを実装するためには、Squidのコンパイル時に‘–enable-ssl-crtd’をつけてコンパイルする必要があります。yumからsquidをインストールする場合、このオプションなしでインストールされてしまうため、コンパイルする必要があります。
yum install gcc gcc-c++ openssl-devel -y
cd /usr/local/src
wget http://www.squid-cache.org/Versions/v4/squid-4.17.tar.gz
tar xf squid-4.17.tar.gz
chown -R root. squid-4.17
cd squid-4.17
./configure --prefix=/usr/local/squid --enable-ssl-crtd --with-openssl --with-default-user=squid
make all
make install
OpenSSLを使用し証明書を作成する
以下コマンドを使用し証明書を作成
cd /usr/local/squid/etc/
openssl req -new -newkey rsa:2048 -sha256 -days 3650 -nodes -x509 -extensions v3_ca -keyout myCA.pem -out myCA.pem
PEMエンコーディングをDERエンコーディングに変更する
openssl x509 -in myCA.pem -outform DER -out myCA.der
chown squid:squid myCA.pem
chmod 400 myCA.pem
squidのコンフィグファイルを編集する。
vi /usr/local/squid/etc/squid.conf
以下squid.confの編集内容
#http_port 3128
http_port 3128 ssl-bump generate-host-certificates=on dynamic_cert_mem_cache_size=16MB cert=/usr/local/squid/etc/myCA.pem
sslcrtd_program /usr/local/squid/libexec/security_file_certgen -s
/usr/local/squid/var/cache/squid/ssl_db -M 16MB
sslcrtd_children 20
sslproxy_cert_error deny all
ssl_bump stare all
SSL証明書発行用データベースを作成
/usr/local/squid/libexec/security_file_certgen -c -s /usr/local/squid/var/cache/squid/ssl_db -M 16MB
chown -R squid:squid /usr/local/squid/var/
FirewallにてTCP3128ポートを許可
firewall-cmd --zone=public --add-port=3128/tcp --permanent
firewall-cmd --reload
squidの起動
/usr/local/squid/sbin/squidproxyのSSL復号を検証
検証端末に証明書を取り込まずに検証
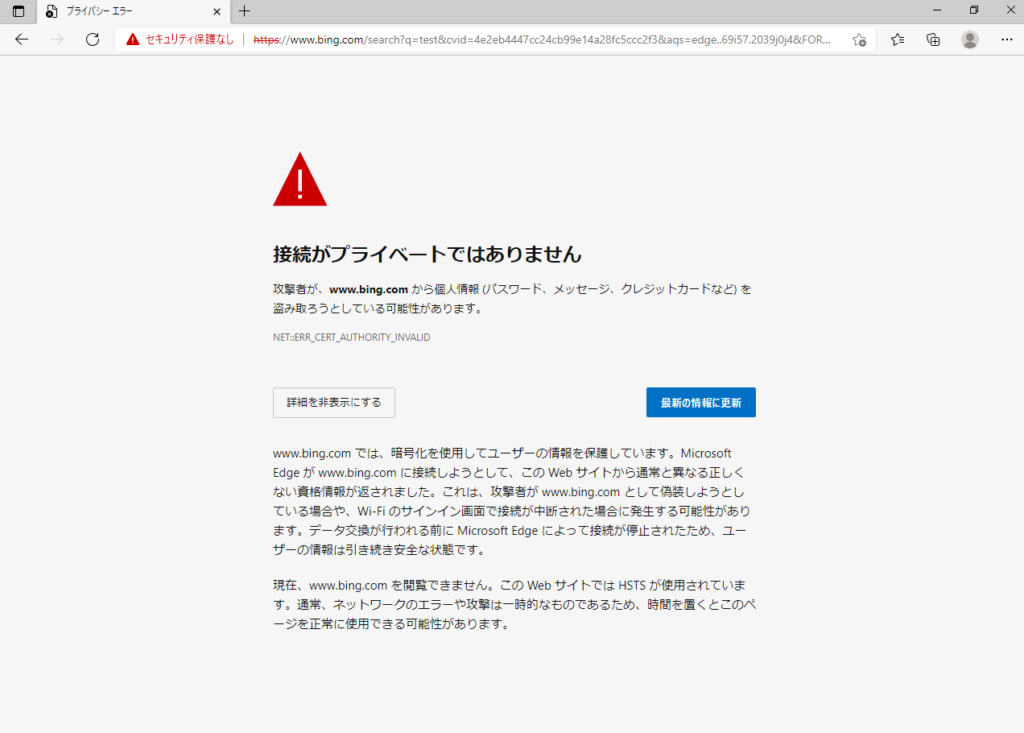
windows10からProxy(今回構築したsquid)を指定し、Web検索を実施。
以下の通り、squidが使用しているmyCA.pemより作成されたサーバ証明書は、オレオレ証明書だと判断されるため、セキュリティ保護の警告が表示される。
証明書の取り込みあり
OpenSSLにて作成したmyCA.derをルート証明書としてWindows10に取り込む。
取り込んだ後にhttpsにてWebサイトを閲覧しても証明書の警告は発生しない。(以下はwww.bing.comへのhttps接続)

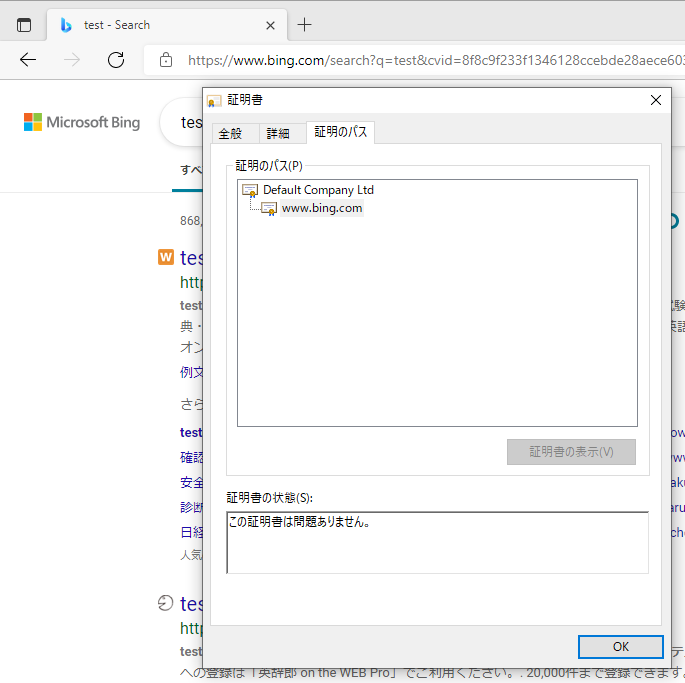
このとき、www.bing.comの証明書を確認すると以下の通りとなる。
ルート証明書を取り込んでいるため、以下CAが発行したwww.bing.comの証明書についても証明書チェーンが信頼できるものと判断され、証明書の警告がなくなる。
squidのlogを確認しSSLの復号ができているか確認
以下のようにssl復号ができているlogが確認できた。

参考としたサイト:


コメント